I. Introduction to the EA211 Engine
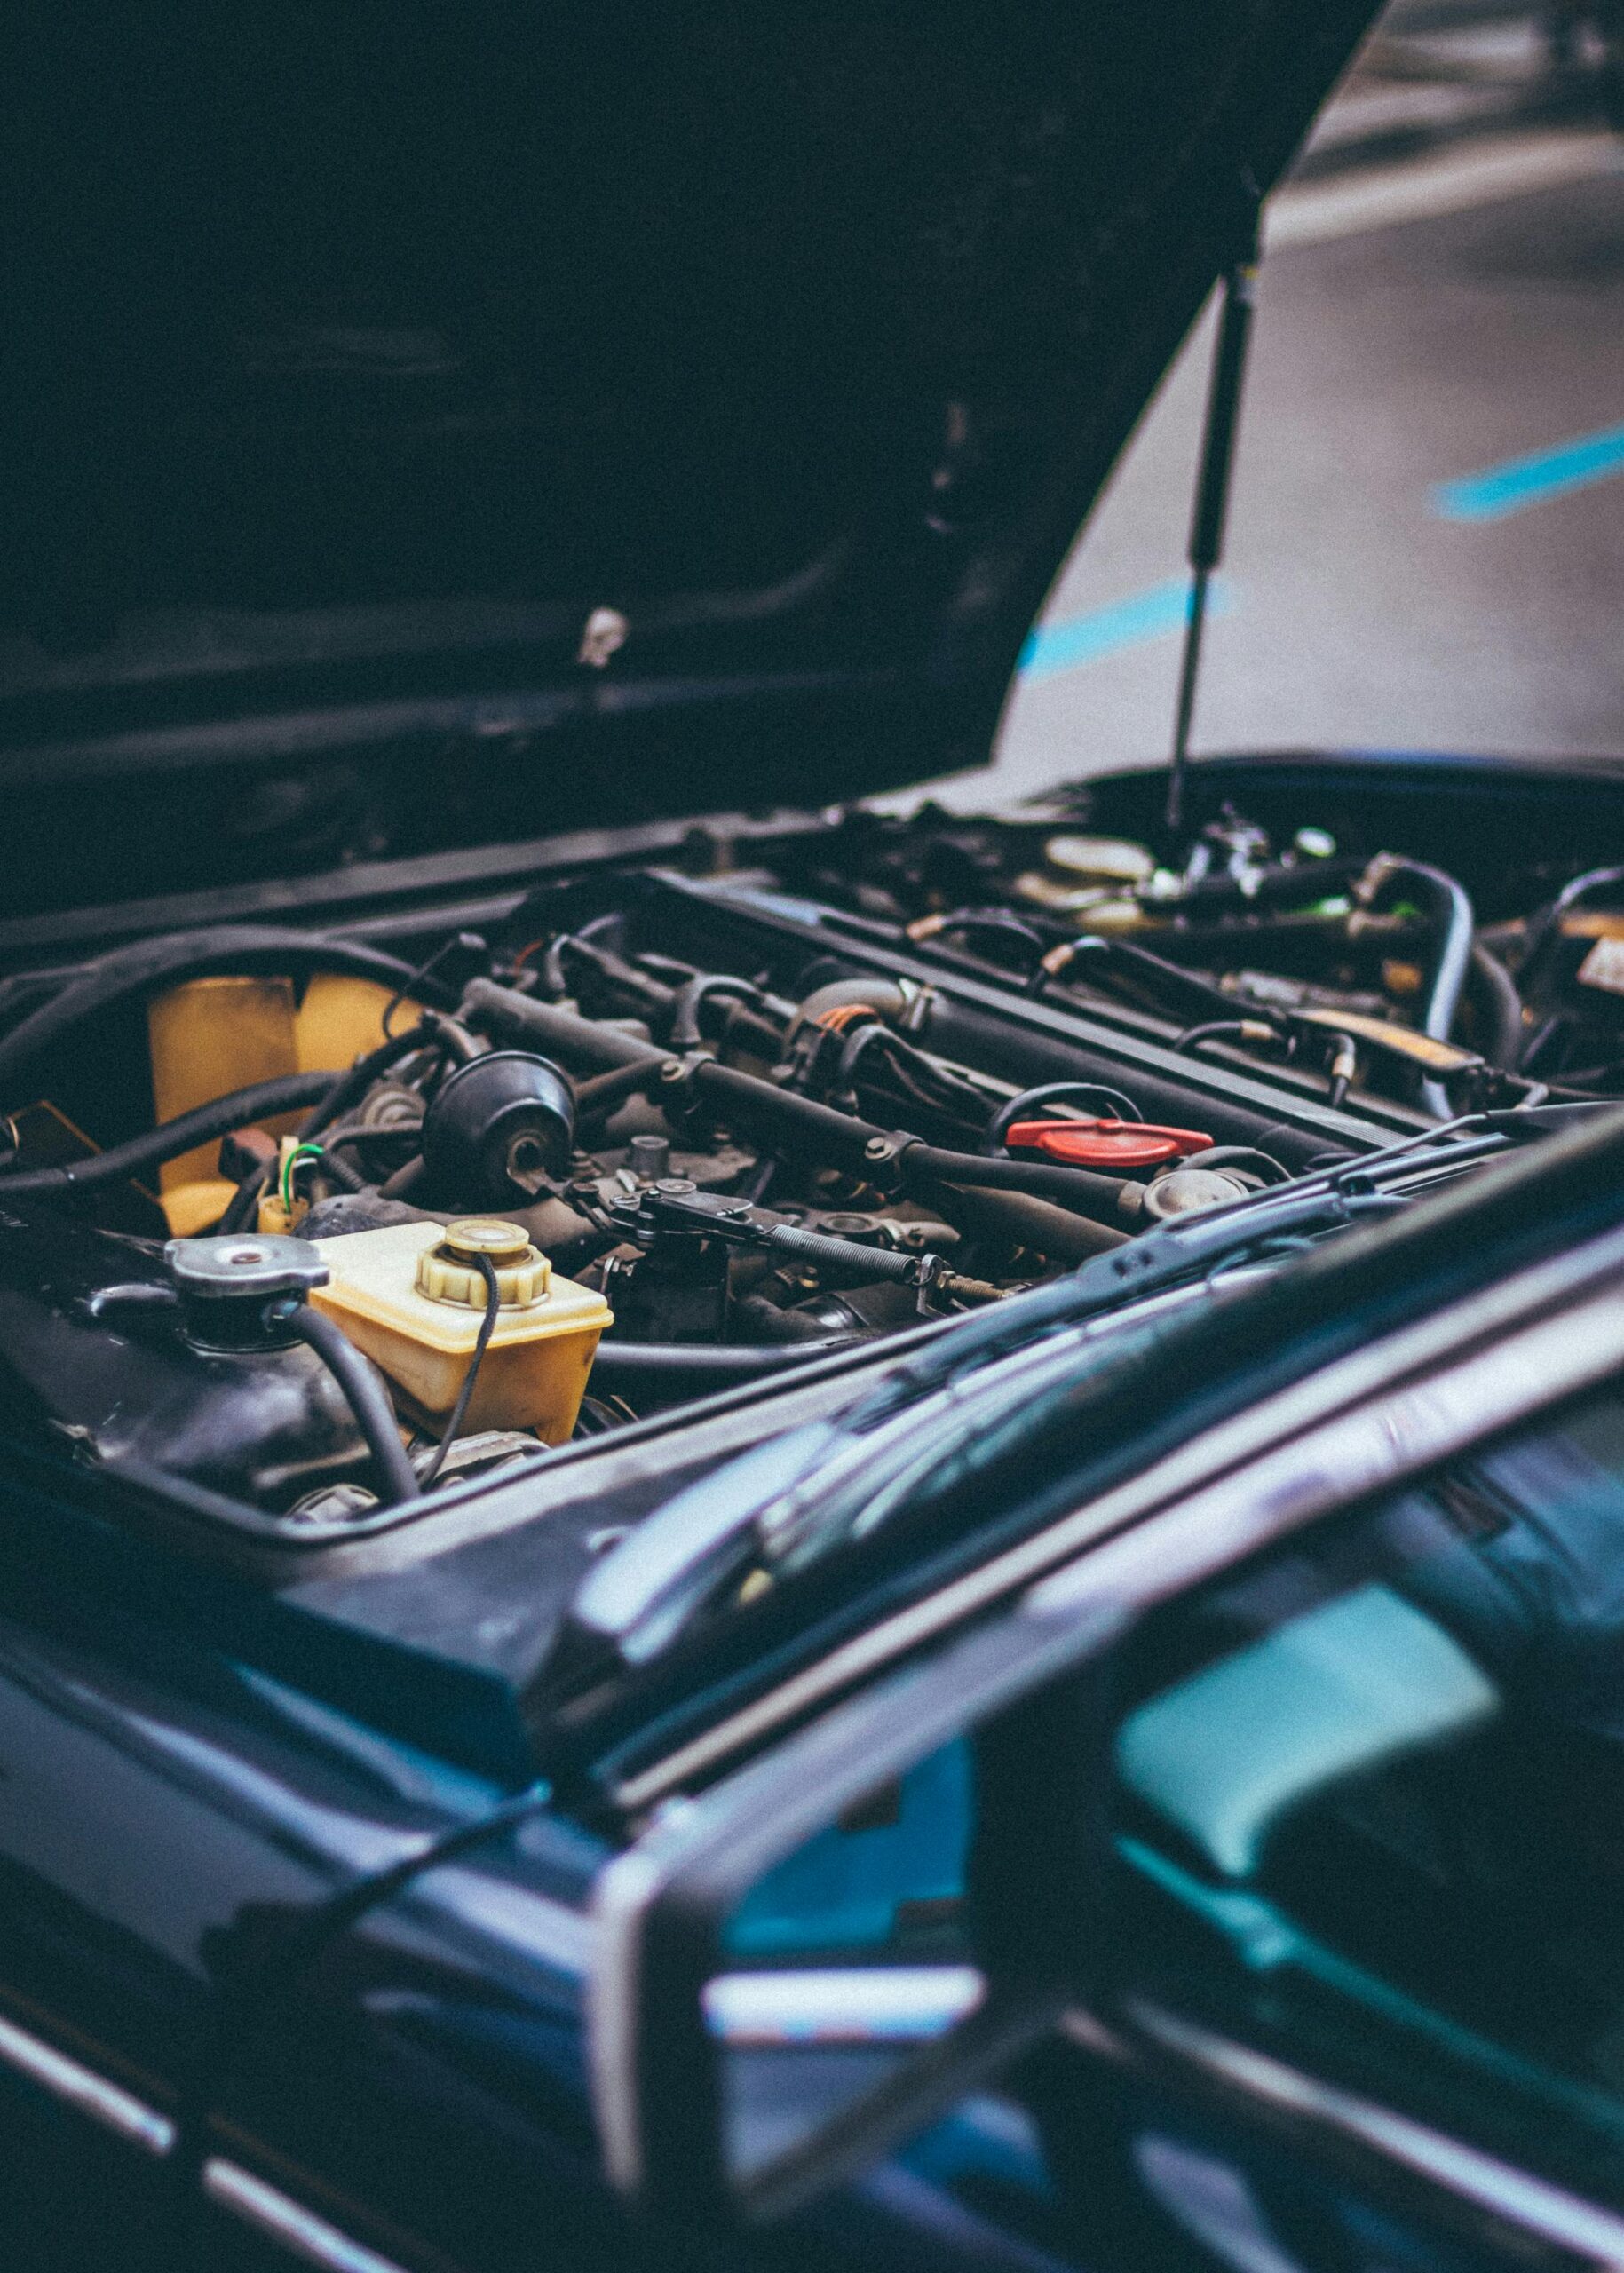
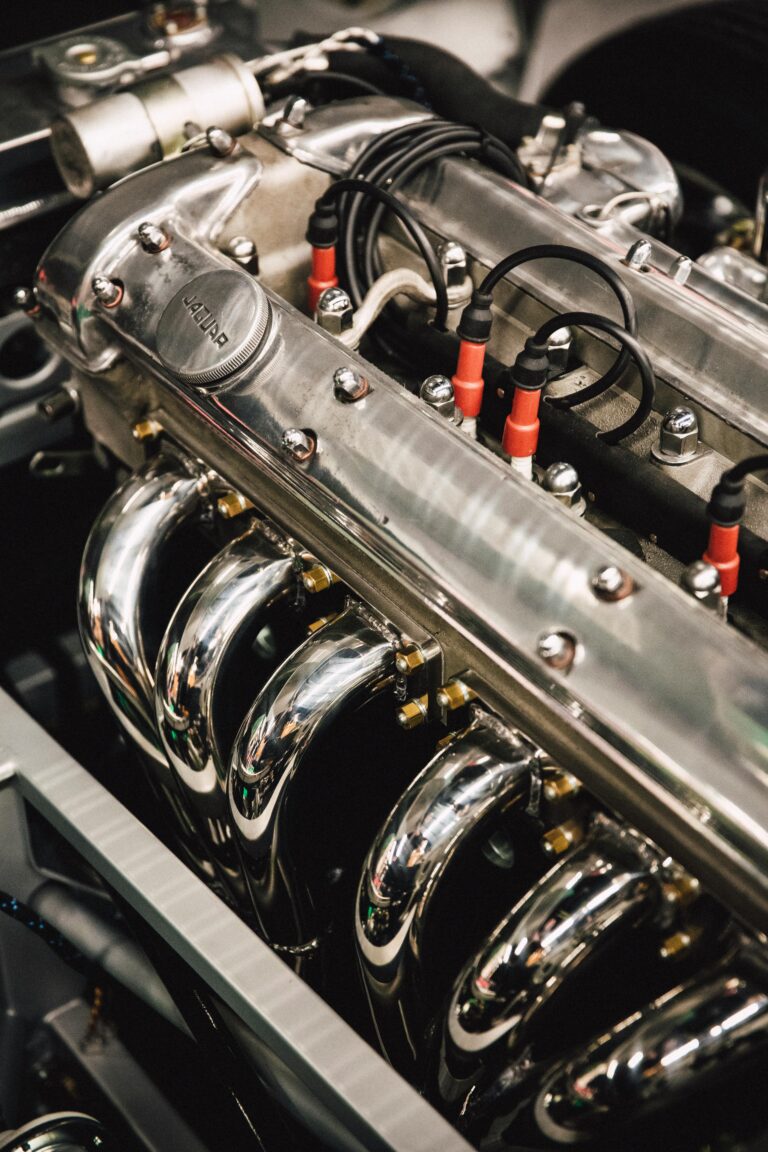
The Volkswagen EA211 engine is an advanced power unit widely used in many Volkswagen models. It features a lightweight design, excellent fuel economy, and stable power output. It adopts an aluminum alloy cylinder block, which effectively reduces the vehicle weight and improves handling performance. Meanwhile, it is equipped with an advanced fuel injection system to ensure full combustion of fuel and reduce exhaust emissions.
II. Common Faults and Repair Methods
(A) Engine Vibration
Fault Causes:
Worn or severely carbon-deposited spark plugs, resulting in poor ignition.
Dirty throttle valves, affecting the precise control of air intake volume.
Aging or damaged engine mount rubbers, unable to effectively buffer the vibration generated during engine operation.
Repair Methods:
Replace spark plugs regularly. Generally, it is recommended to replace them every 20,000 – 30,000 kilometers. After removing the spark plugs, check the wear of the electrodes. If they are severely worn or have excessive carbon deposits, new spark plugs should be replaced in time. When installing, tighten them to the specified torque.
Clean the throttle valve using a special throttle valve cleaner. After removing the throttle valve, carefully wipe the valve plate and its surrounding areas with the cleaner to remove oil and carbon deposits. After cleaning, throttle valve matching is required to ensure stable engine idle speed.
Check the engine mount rubbers. If any cracking, deformation, or loss of elasticity is found, new mount rubbers should be replaced. When replacing, use professional tools and follow the correct installation sequence. Generally, remove the old mount rubbers first and then install the new ones, tightening the fixing bolts to the specified torque.
(B) Abnormal Oil Consumption
Fault Causes:
Worn or misaligned piston rings, causing oil to enter the combustion chamber and participate in combustion.
Aging or damaged valve stem seals, allowing oil to flow into the combustion chamber along the valve stems.
Faulty oil-gas separators, unable to effectively separate oil vapor and combustible gases, resulting in oil loss.
Repair Methods:
Disassemble the engine to check the condition of the piston rings. If the piston rings are severely worn, a complete set of piston rings should be replaced and installed and run-in according to the repair manual requirements. During installation, pay attention to the opening direction of the piston rings to avoid misalignment.
Replace the valve stem seals. Generally, special tools are used for removal and installation. First, remove the old seals, clean the valve guides, and then install the new seals to ensure proper installation and tight fit to prevent oil leakage.
Check the oil-gas separator. If any blockage or damage is found inside, a new one should be replaced. After replacement, start the engine and observe whether the oil consumption returns to normal.
(C) Engine Overheating
Fault Causes:
Insufficient coolant or coolant leakage, leading to poor engine heat dissipation.
Faulty thermostats, unable to open or close normally, affecting the circulation of coolant.
Damaged water pumps, unable to provide sufficient power for coolant circulation.
Clogged radiators, with the cooling fins covered by dust and debris, reducing heat dissipation efficiency.
Repair Methods:
Regularly check the coolant level. If the coolant is insufficient, add coolant that meets the specifications. At the same time, check the cooling system for leakage points, such as water pipe joints, radiators, water pumps, etc. If any leakage is found, repair or replace the damaged parts in time.
Test the thermostat. Place the thermostat in water and heat it to observe whether its opening and closing temperatures meet the standards. If the thermostat is faulty, replace it with a new one and ensure correct installation.
Check the water pump. If the impeller of the water pump is damaged, the bearing is worn, or the seal fails, replace the water pump with a new one. When installing the water pump, pay attention to adjusting the belt tension to an appropriate range.
Clean the radiator. Use compressed air or a water gun (with appropriate pressure) to blow or rinse from the back of the radiator to remove dust and debris and ensure good ventilation of the cooling fins.
III. Repair Precautions
When disassembling engine components, be sure to follow the order in the repair manual and keep each part properly to avoid loss or confusion of parts.
Use special tools for repair work, such as spark plug sockets, valve stem seal installation tools, piston ring compressors, etc., to ensure the accuracy and efficiency of operations.
When replacing parts, select accessories that meet the original factory standards to ensure the performance and reliability of the engine.
After the repair is completed, conduct a comprehensive inspection and debugging, including starting the engine to observe whether the idle speed, acceleration, and other working conditions are normal, and checking for any leaks to ensure the quality of engine repair.
[Since pictures cannot be directly inserted here, you can search for corresponding repair step pictures on the Internet by yourself, such as pictures of replacing spark plugs of the EA211 engine, pictures of cleaning the throttle valve, pictures of disassembling piston rings, etc., and add them one by one according to the content of the repair knowledge to make readers understand the repair process more intuitively.]
It is hoped that the above knowledge of EA211 automobile engine repair can help the majority of car owners and maintenance personnel to handle relevant problems in a timely and accurate manner.